We’ve all had that heart-sinking moment: a splash of coffee on a new blouse or a drop of sauce on our favorite skirt. It’s frustrating, isn’t it? But here’s the silver lining – removing those tough stains from clothes might be challenging, but it’s definitely doable. Over the years, I’ve faced my fair share of stubborn stains and, with a bit of patience and know-how, managed to conquer them all.
Clothes aren’t just fabric; they’re memories. That T-shirt from a rock concert, the dress you wore on your first date, or the sweater gifted by a loved one. Each stain threatens to erase a cherished memory, but with the right techniques, we can keep those memories intact. So, are you ready to discover the best solutions to remove tough strains from your clothes? Let’s jump right in!
Red Wine Stains

Oh, red wine! Perfect for those cozy nights in or celebratory toasts, but a real party pooper when it lands on your favorite outfit. Don’t panic; I’ve been there, and I’ve got your back. Here’s how I’ve saved many a dress from the dreaded red wine splash:
- Quick Moves: First things first, time is of the essence. The sooner you tackle that spill, the better.
- Gentle Blotting: Grab a clean cloth or even a napkin and gently dab the stain. Remember, we’re friends with the stain at this point, no aggressive rubbing!
- Salt to the Rescue: If you’re out and about and can’t give the stain a proper treatment, a sprinkle of table salt can be a lifesaver. It’ll soak up the wine and buy you some time.
- The Cold Water Trick: Once you’re home, or if you’re at a place where you can, stretch the stained part over a bowl and pour some cold water from a height. It’s like giving your fabric a mini shower.
- Good Ol’ Vinegar & Baking Soda: Make a little paste with white vinegar and baking soda and spread it over the stain. Let it have a little sit-down for about an hour. This duo works wonders, trust me.
- Laundry Time: After all this pampering, give your garment its usual wash. Cold water is your best bet, and maybe skip the bleach for this round.
A Few Words of Caution:
- Always stick to cold water for wine mishaps. Hot water might make the stain play hard to get.
- Got a fancy garment that says, “dry-clean only”? After blotting out as much wine as you can, it might be best to leave this one to the pros.
Little Tip from Me: Before going all-in with the vinegar and baking soda, maybe test it out on a sneaky, hidden part of your clothing. Just to make sure it doesn’t throw any surprises in terms of discoloration.
Fruit Juice Stains

Oh, the joys of a refreshing fruit juice on a sunny day! But sometimes, that vibrant splash of orange or berry doesn’t just stay in our glasses. If you’ve had a little juice mishap, here’s my personal playbook to get things back to normal:
- Immediate Action: If you can, blot the stain right away. The less time it has to set, the easier it’ll be to remove.
- Cold Water Rinse: Hold the stained area under cold running water. This helps to flush out as much of the juice as possible.
- Lemon-Salt Combo: Mix some lemon juice and salt to create a stain-fighting paste. Apply it to the stain and let it sit for about 10-15 minutes. It’s like a mini spa treatment for your clothes.
- Regular Wash: After treating the stain, pop the garment into the washing machine. Use your regular detergent and cold water.
- Check Before Drying: After washing, make sure the stain is completely gone before drying. Heat can set stains, making them harder to remove.
Heads Up:
- Be cautious with colored garments. The lemon-salt combo is a bleaching agent, so always do a patch test on a hidden area first.
A Little Wisdom: Always test any stain removal method on a hidden part of the garment. It’s better to be safe than sorry!
Grease Stains

Whether it’s from that delicious slice of pizza or a little kitchen mishap while frying, grease has a sneaky way of leaving its mark. But don’t fret; I’ve had my battles with grease, and I’m here to share my trusty tricks:
- Blot Away: If the grease is fresh, use a paper towel or cloth to blot away as much as you can. Remember, gentle dabs – no rubbing!
- Dish Soap Magic: Apply a few drops of liquid dish soap directly to the stain. It’s designed to break down grease on dishes, and it works wonders on clothes too.
- Scrub-a-Dub: Using an old toothbrush or your fingers, gently scrub the area to work the soap into the stain.
- Hot Water Wash: Grease responds well to heat. Wash the garment in the hottest water safe for the fabric. Check the care label for guidance.
- Air Dry: After washing, let the garment air dry. This way, if there’s any trace of the stain left, the heat from a dryer won’t set it.
Friendly Reminder:
- Grease stains can be stubborn. If the stain persists after the first wash, repeat the treatment before drying.
Pro Tip: Before going all out with any treatment, especially hot water, give it a test on a hidden part of your clothing. We want to remove the stain, not harm the fabric!
Sweat & Other Bodily Fluids Stains
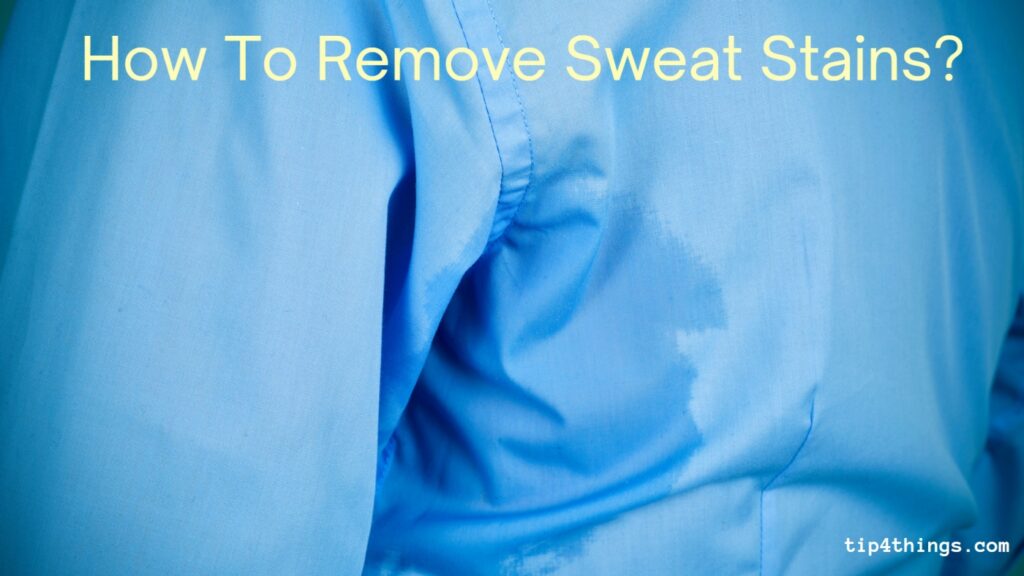
Oh, the dreaded sweat stains! Whether it’s from a summer day out, a gym session, or just one of those days, we’ve all had our moments.
And while sweating is just our body’s way of keeping cool, those yellowish marks on our favorite tops? Not so cool. Here’s a method I learned from my grandma that’s been a lifesaver:
- Cold Water First: Before anything else, give the stained area a good rinse with cold water. It helps in diluting the stain a bit.
- Lemon Magic: Remember those summer days when grandma would make lemonade? Well, lemons are not just for that. Mix equal parts of lemon juice and water and dab it onto the stain. It’s nature’s own bleach, minus the harsh chemicals.
- A Pinch of Salt: Just like how a pinch of salt enhances flavor in food, it can also enhance the stain-removing power of lemon. Sprinkle some over the lemon-soaked area.
- Patience Time: Let the garment sit for about half an hour. I usually use this time to catch up on a TV show or read a bit.
- Wash As Usual: After the lemon and salt treatment, throw the garment into your regular wash.
A Little Word of Wisdom:
- If you’re trying this on a colored garment, do a quick spot test in an inconspicuous area. We love lemons for their natural bleaching, but let’s make sure it doesn’t love our clothes too much.
A Quick Note: If you’ve got a favorite shirt that’s seen better days because of sweat stains, sometimes a soak in a mix of water, baking soda, and a bit of vinegar before washing can give it a new lease on life.
Coffee Stains
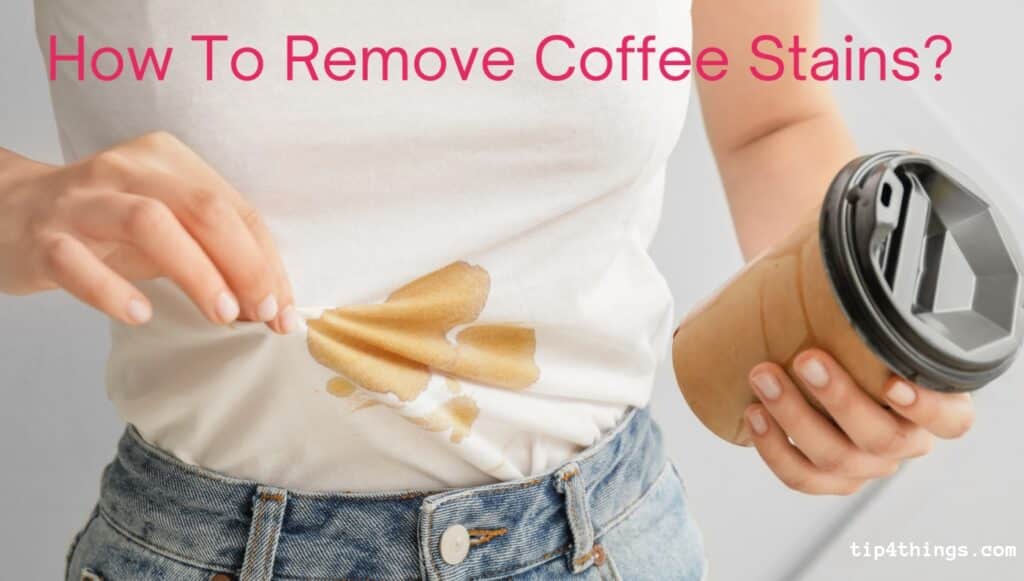
Coffee. It’s our morning savior, our midday pick-me-up, and sometimes, unfortunately, an accidental addition to our outfit. I can’t count the number of times I’ve been in a rush, coffee in hand, and ended up with a splash on my shirt. If you’ve been there too, here’s a little routine I swear by:
- Immediate Blotting: If you catch the spill when it’s fresh, use a napkin or cloth to blot away as much liquid as possible. The key is to dab, not rub, so you don’t spread the stain further.
- Cold Water Flush: Hold the stained area under cold running water, letting the water flow through the back of the stain. This helps push the coffee out.
- Gentle Soap Rub: Take a bit of liquid laundry detergent or even hand soap and gently rub it into the stain. It’s like giving your garment a mini massage.
- Soak in Vinegar: If the stain is being stubborn, fill a basin with cold water and add a splash of white vinegar. Let your garment take a relaxing soak for about 15 minutes.
- Wash as Usual: After your pre-treatments, toss the garment into the washing machine for a regular cycle.
A Little Caution:
- If your coffee had added ingredients like milk or sugar, it’s essential to treat the stain as soon as possible. These additions can make the stain more challenging to remove.
A Quick Note: If you’ve got a favorite shirt that’s seen better days because of sweat stains, sometimes a soak in a mix of water, baking soda, and a bit of vinegar before washing can give it a new lease on life.
Tea Stains
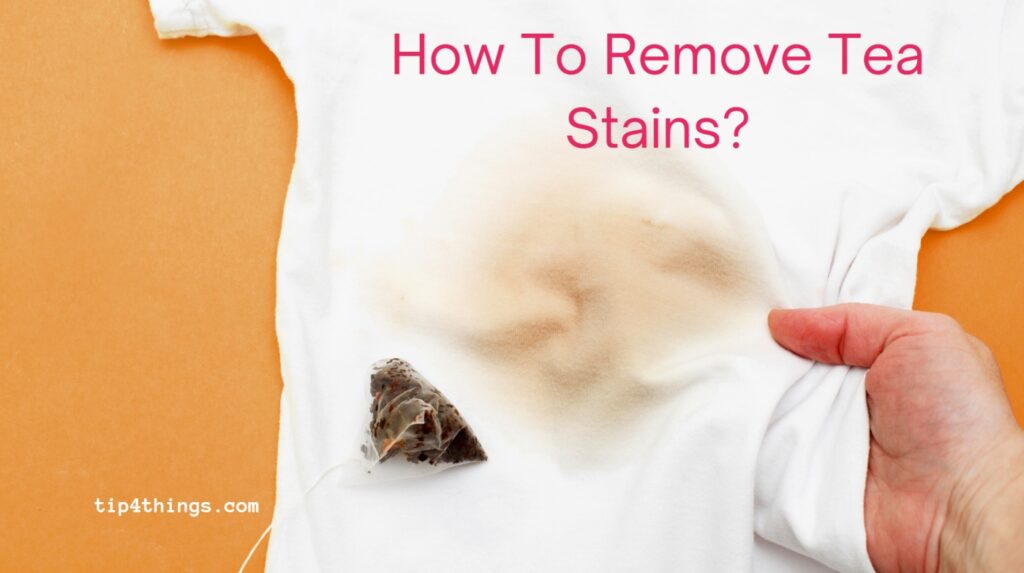
There’s nothing quite like a comforting cup of tea, whether it’s a brisk morning brew or a calming evening infusion. But spills happen, and when they do, they can leave a mark.
I recall a time when I was engrossed in a book, and my elbow sent my tea flying onto my couch. Here’s the routine I followed to save the day:
- Quick Blotting: If the spill is fresh, grab a clean cloth and gently blot up as much of the liquid as possible. Remember, dab, don’t rub!
- Cold Water Rinse: Hold the stained area under cold running water, allowing the water to flow through the back of the stain. This helps in flushing out the tea.
- Baking Soda Paste: Mix a bit of baking soda with water to create a paste. Apply this to the stain and let it sit for a few minutes. Baking soda is a natural stain lifter.
- Gentle Soap Treatment: Apply a few drops of liquid laundry detergent or hand soap to the stain and gently rub it in.
- Regular Wash: After treating the stain, wash the garment as usual. If it’s a larger item like a couch cushion cover, check the care instructions first.
A Word of Caution:
- If your tea had added ingredients like milk or lemon, treat the stain as soon as you can. These additions can set the stain further.
A Personal Touch: After my tea-spill-on-the-couch incident, I’ve made it a habit to keep a small stash of baking soda in my living room cabinet. It’s come to the rescue more times than I’d like to admit!
Tomato Sauce and Ketchup Stains
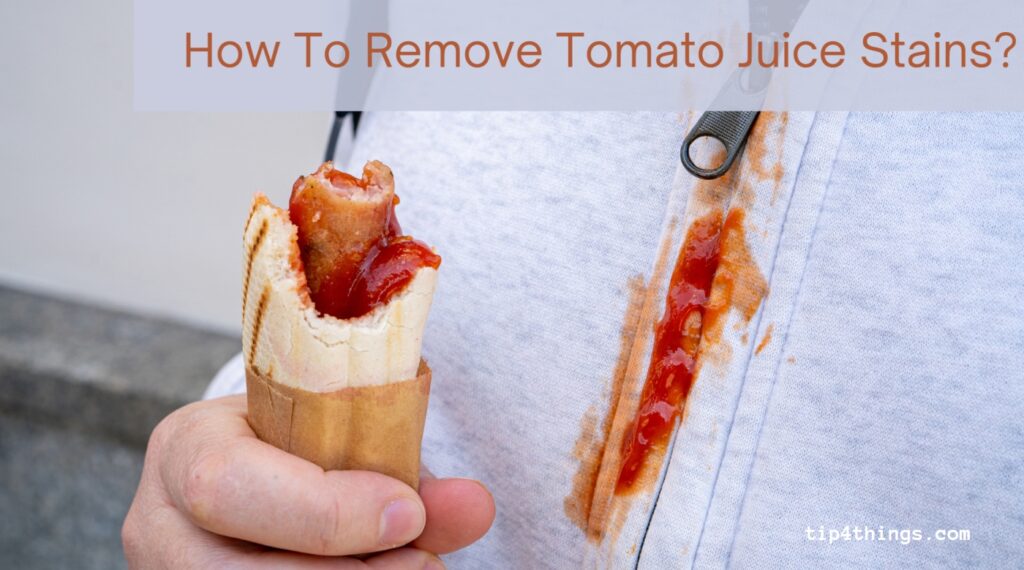
Spaghetti dinners, pizza nights, or a hearty lasagna – tomato sauce (goes for Ketchup as well) is a staple in many delicious dishes.
But it’s also notorious for leaving its mark on our clothes and tablecloths. I remember a family gathering where my little nephew decided to wear more tomato sauce than he ate. Here’s how we tackled the aftermath:
- Scrape Off the Excess: If there’s a dollop of sauce on the fabric, use a spoon or the back of a knife to gently scrape off as much as you can.
- Cold Water Flush: Hold the stained area under cold running water, letting the water flow through the back of the stain. This helps in pushing out the sauce.
- Pre-treat with Liquid Detergent: Apply a few drops of liquid laundry detergent directly onto the stain. Gently rub the fabric against itself to work the soap in.
- Soak in Vinegar Solution: Fill a basin with cold water and add a cup of white vinegar. Let the stained garment soak for about 30 minutes. Vinegar helps in breaking down the stain.
- Regular Laundry Cycle: After soaking, wash the garment as you usually would. Check the stain post-wash, and if it’s still visible, consider a second treatment.
A Friendly Reminder:
- Tomato sauce stains can be a bit tricky, especially if they’ve had time to set. Patience is key. Sometimes, it might take a couple of treatments to completely lift the stain.
A Little Anecdote: After the tomato sauce incident with my nephew, we now have a family joke. Every time we have pasta, someone inevitably asks if we’ve stocked up on vinegar and detergent. It’s all in good fun, and it’s become a cherished memory!
Berry Stains

Summer picnics, fruit salads, or just snacking on some fresh berries – it’s all fun and games until a berry squishes onto your outfit. I still chuckle thinking about the time my friend tried to juggle strawberries and ended up with a berry-patterned shirt. Here’s the game plan we used to combat those berry marks:
- Immediate Action: If you can, address the stain right away. Gently remove any berry remnants without pushing them further into the fabric.
- Cold Water Rinse: Hold the stained area under cold running water. Letting the water flow through the back of the stain can help push out some of the berry juice.
- Pre-treat with Lemon Juice: Lemon juice acts as a natural bleaching agent. Dab some onto the stain and let it sit for a few minutes. It’s especially effective for lighter fabrics.
- Apply Liquid Detergent: Gently rub a few drops of liquid laundry detergent onto the stain. This helps break down the berry pigments.
- Check and Wash: Before tossing the garment into the wash, check the stain. If it’s still visible, consider repeating the pre-treatment. Once it looks faded, go ahead with your regular laundry cycle.
A Bit of Caution:
- Berries have natural dyes, which can be quite persistent. It’s essential to treat the stain as soon as possible for the best results.
A Personal Touch: After the strawberry-juggling incident, my friend and I made it a summer tradition to have a berry-themed picnic. We laugh about the stain mishap and always come prepared with a stain-fighting kit. It’s all about embracing the moment and the memories!
Curry Stains

Curry dishes are a symphony of flavors and colors. But when that vibrant turmeric-based sauce lands on your clothes, it can be a heart-sinking moment.
I recall a dinner party where a friend accidentally knocked over a bowl of curry right onto her white dress. The gasps were audible! But with a bit of quick thinking, we managed to salvage the situation. Here’s how:
- Blot, Don’t Rub: If the spill is fresh, use a clean cloth or paper towel to gently blot up as much of the curry as possible. Remember, the goal is to lift, not spread.
- Cold Water Rinse: Hold the stained area under cold running water, allowing the water to flow through the back of the stain. This helps in flushing out some of the curry.
- Apply Dish Soap: Liquid dish soap is designed to cut through greasy residues. Dab a bit onto the stain and gently rub the fabric against itself.
- Soak in Vinegar Solution: Fill a basin with cold water and add a cup of white vinegar. Let the stained garment soak for about 30 minutes. The acidity of the vinegar can help in breaking down the stain.
- Laundry Time: After the vinegar soak, wash the garment as usual. Check the stain post-wash, and if it’s still visible, consider a second treatment.
A Word of Wisdom:
- Turmeric, a common ingredient in curry, is known for its staining prowess. The sooner you can treat the stain, the better your chances of completely removing it.
A Personal Anecdote: After the curry mishap at the dinner party, we all pitched in to help with the stain removal. It turned into an impromptu laundry lesson, with everyone sharing their stain-fighting tips. By the end of the night, not only was the dress saved, but we all left with a few more tricks up our sleeves!
Lipstick Stains
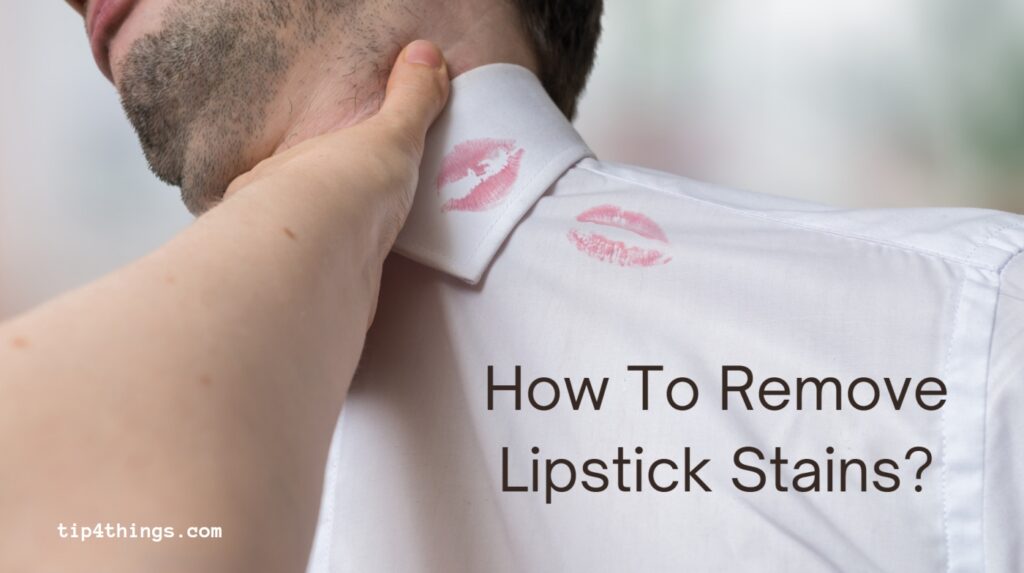
Lipstick can elevate a look in seconds, adding a pop of color and confidence. But when it transfers onto your clothes, especially those crisp white collars or sleeves, it can be a bit of a downer.
I remember a hilarious moment at a friend’s wedding when a hug turned into a lipstick stain transfer fiasco. Here’s the strategy we employed to combat that bold lipstick mark:
- Lift Off the Excess: Before diving into any treatment, gently scrape off any excess lipstick using the edge of a credit card or a blunt knife. Be careful not to spread it further.
- Dab with Alcohol: Using a clean cloth, dab a bit of rubbing alcohol onto the stain. The alcohol helps in breaking down the oils in the lipstick.
- Apply Dish Soap: Liquid dish soap, especially the kind designed to cut through grease, can be a lifesaver. Gently rub a few drops onto the stain.
- Rinse with Cold Water: After treating with alcohol and dish soap, rinse the stained area with cold water, pushing the water through the back of the stain.
- Laundry As Usual: Toss the garment into your regular wash. If the stain persists post-wash, consider repeating the treatment.
A Friendly Tip:
- Lipstick formulations can vary, with some being more stubborn than others. If you know the type of lipstick (matte, long-wear, glossy), it can help tailor the removal method.
A Personal Touch: After the lipstick transfer incident at the wedding, the bride, instead of panicking, turned it into a fun moment. She jokingly said it was her way of “marking” her favorite guests. We all had a good laugh, and with a bit of quick action, the stain became a non-issue.
Paint Stains

Whether you’re channeling your inner Picasso or just giving your room a fresh coat, paint can sometimes find its way onto your clothes. I recall a summer afternoon when my sister decided to paint her room a vibrant shade of blue.
By the end of the day, it seemed like she had more paint on her jeans than the walls! Here’s our tried-and-true method to tackle those paint smudges:
- Identify the Paint Type: Before you start, it’s crucial to know if the paint is water-based (like latex or acrylic) or oil-based. The removal method varies based on this.
- For Water-Based Paint:
- Blot Wet Paint: If the paint is still wet, use a paper towel or cloth to blot up as much as you can. Remember to blot, not rub.
- Rinse with Warm Water: Hold the stained area under warm running water, letting the water flow through the back of the stain.
- Apply Dish Soap: Rub a few drops of liquid dish soap onto the stain, working it into the fabric.
- Wash Immediately: Toss the garment into the washing machine and wash using warm water.
- For Oil-Based Paint:
- Use Turpentine: Dab a bit of turpentine or paint thinner onto a cloth and gently blot the stain. Always use in a well-ventilated area and wear gloves.
- Rinse and Pre-Treat: After treating with turpentine, rinse the garment and then apply some liquid laundry detergent directly onto the stain.
- Wash Separately: Oil-based paint can be stubborn. Wash the stained garment separately using the hottest water safe for the fabric.
A Word of Caution:
- Always check the garment’s care label before applying any solvents. And when using strong chemicals like turpentine, work in a well-ventilated area away from open flames.
A Personal Anecdote: Post-painting, my sister’s jeans looked like a modern art masterpiece. While we managed to get most of the paint out, she loved the unique pattern left behind and turned those jeans into her “art project pants.” Every stain became a memory of a project well done.
Deodorant Stains
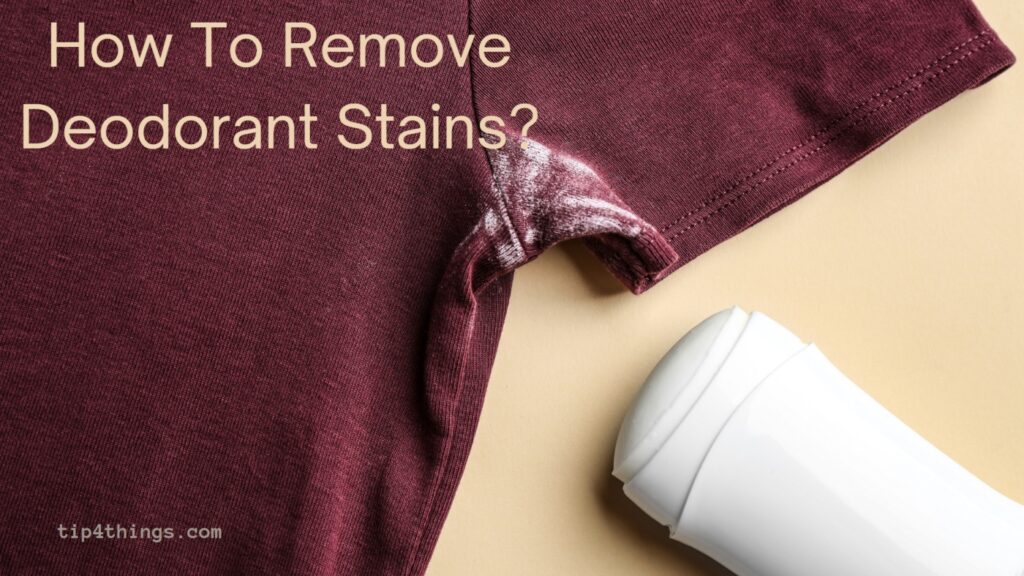
We’ve all been there. You’re getting dressed for an important event, you pull on that sleek black dress or crisp dark shirt, and then you see them: white streaks or patches from your deodorant.
I remember prepping for a job interview and realizing my favorite navy blazer had fallen victim. Here’s the quick fix I’ve come to rely on:
- Dryer Sheet Magic: Believe it or not, those handy dryer sheets can be a quick fix. Just rub a dryer sheet over the deodorant marks, and watch them fade away. It’s like a little laundry eraser!
- Nylon Stockings Trick: If you have a pair of nylon stockings or tights, ball them up and rub them over the stain. The texture helps lift those white marks.
- Baby Wipes to the Rescue: Baby wipes are gentle yet effective. Gently dabbing or rubbing the stain with a baby wipe can help remove those streaks.
- White Vinegar Soak: For more stubborn or older deodorant stains, consider soaking the garment in a mixture of white vinegar and water (equal parts) for about an hour before washing.
- Regular Wash: After treating the stain, wash the garment as you usually would. Opt for cold water to prevent setting any remaining residue.
A Word of Wisdom:
- When applying deodorant, allow it to dry for a minute or two before dressing. This can help reduce the chances of transferring those white marks to your clothes.
A Personal Touch: After the blazer incident, I started keeping a pack of baby wipes in my wardrobe. They’ve come to the rescue more times than I can count, not just for deodorant marks, but also for small makeup smudges or spills.
Makeup Stains
Makeup enhances our features and boosts our confidence, but when it lands on our clothes, it can be a real challenge.
I remember getting ready for a friend’s wedding and accidentally brushing my freshly powdered face against my silk blouse.
Panic ensued! But with a few tricks up my sleeve, I managed to save the day. Here’s how:
- Lift Off the Excess: If there’s a smudge of foundation or a mascara streak, gently lift off as much as you can using the edge of a credit card or a blunt knife. Be gentle to avoid pushing the makeup further into the fabric.
- Dab with Makeup Remover: For foundation or concealer stains, dab a bit of makeup remover or micellar water onto a cotton pad and gently blot the stain. These products are designed to break down makeup and can be quite effective.
- Shampoo for Mascara and Eyeliner: These are often oil-based, so using a bit of shampoo (which is designed to break down oils) can help. Dab a small amount onto the stain and gently rub.
- Liquid Detergent for Lipstick: Lipstick can be a mix of waxes, pigments, and oils. Apply a few drops of liquid laundry detergent onto the stain and gently rub the fabric against itself.
- Rinse and Check: After treating, rinse the stained area with cold water. If the stain persists, consider repeating the treatment.
- Laundry Time: Once you’ve treated the stain, wash the garment as per its care instructions.
A Friendly Tip:
- Always check the garment’s care label before applying any treatment. Some fabrics may be more delicate and require special care.
A Personal Anecdote: Post-makeup mishap, I’ve started doing my makeup before getting dressed, especially if I’m wearing something fancy. It’s a small change in routine that has saved me from many potential stain disasters!
Chocolate Stains

A sweet treat that brings joy to our taste buds but can be a nemesis to our clothes. I still chuckle when I think about the time my niece decided to “save” a piece of her chocolate bar in her pocket, only to forget about it and sit down.
The result? A gooey mess! Here’s how we tackled that chocolatey challenge:
- Cool It Down: If the chocolate has melted onto the fabric, place the garment in the freezer for about 15 minutes. This will harden the chocolate, making it easier to scrape off.
- Scrape Off the Excess: Using a blunt knife or the edge of a credit card, gently scrape off as much of the hardened chocolate as possible. Remember, the goal is to lift, not spread.
- Turn It Inside Out: This might sound odd, but turning the garment inside out and rinsing with cold water from the back of the stain can help push out some of the chocolate particles.
- Pre-Treat with Liquid Detergent: Apply a few drops of liquid laundry detergent directly onto the stain. Gently rub the fabric against itself to work in the detergent.
- Soak If Needed: For stubborn or older chocolate stains, consider soaking the garment in cold water with a bit of salt or vinegar. This can help break down the stain further.
- Wash As Usual: Toss the garment into your regular wash. Opt for cold water to prevent setting any remaining residue. Check the stain post-wash, and if it’s still visible, consider a second treatment.
A Word of Wisdom:
- Chocolate contains both oil (from cocoa butter) and dye (from the cocoa itself), making it a combination stain. Addressing both aspects is key to successful removal.
A Personal Touch: After the pocket incident, my niece and I had a little chat about the best places to store chocolate. We both agreed pockets weren’t ideal, but we also shared a good laugh and a valuable lesson. Now, every time she enjoys a chocolate treat, she gives me a cheeky grin and says, “No pockets this time!”
Blood Stains

Blood stains, while common, can be particularly challenging due to their protein-based nature. I recall a time when my younger brother had a minor scrape while playing soccer. He was more concerned about his favorite jersey than the actual scrape!
Together, we tackled that stubborn blood stain, and here’s the method we’ve sworn by ever since:
- Act Fast: Fresh blood stains are always easier to remove than dried ones. If you can, address the stain as soon as it happens.
- Cold Water Rinse: Always use cold water for blood stains. Warm or hot water can cause the protein in the blood to set, making the stain more difficult to remove. Hold the stained area under cold running water to flush out as much of the blood as possible.
- Salt or Hydrogen Peroxide: For fresh stains, a paste made from cold water and salt can be effective. Apply it to the stain, let it sit for a few minutes, then rinse. For older or more stubborn stains, consider using hydrogen peroxide (ensure it’s safe for the fabric color).
- Pre-Treat with Liquid Detergent: Dab a bit of liquid laundry detergent onto the stain, gently rubbing the fabric against itself.
- Check Before Drying: After washing, always check the stain before drying the garment. Heat can set the stain, making it harder to remove. If the stain persists, consider repeating the treatment.
- For Delicate Fabrics: If the garment is delicate or of sentimental value, consider consulting a professional cleaner.
A Word of Caution:
- Always test any treatment in an inconspicuous area of the garment first, especially if using hydrogen peroxide, as it can bleach some fabrics.
A Personal Anecdote: Post-soccer mishap, my brother and I spent a good hour in the laundry room, experimenting with different methods. When we finally saw that stain lift, the victory high-five we shared was epic! To this day, he jokes that while he may not have scored a goal that day, we definitely scored one against that blood stain.
Mud Stains
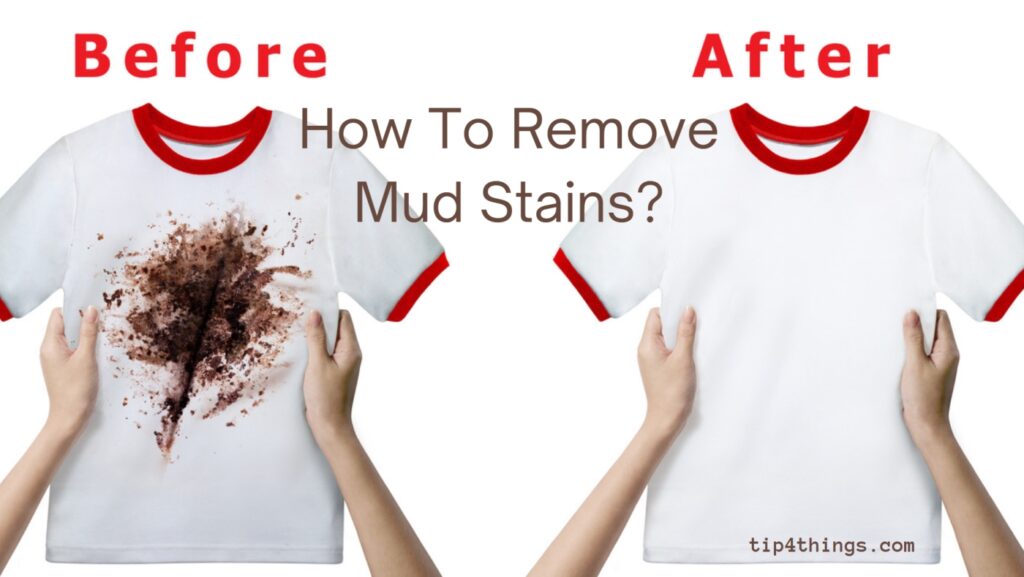
Mud stains, while often a sign of a day well-spent outdoors, can be a laundry nightmare. I have a vivid memory of my best friend’s son coming home after a rainy day, covered head to toe in mud from an impromptu puddle-jumping session.
The joy on his face was priceless, but the state of his clothes? Not so much. Here’s the method we used to reclaim those mud-caked clothes:
- Let It Dry: It might seem counterintuitive, but it’s often easier to remove mud from clothes once it’s dry. Brush off as much of the dried mud as you can using a soft brush or cloth.
- Shake It Out: Give the garment a good shake to remove any loose dirt particles.
- Rinse from the Back: Hold the stained area under cold running water, rinsing from the back of the stain. This helps to push the mud out of the fabric fibers.
- Pre-Treat with Liquid Detergent: Apply a few drops of liquid laundry detergent directly onto the stain. Gently rub the fabric against itself to work the detergent into the stain.
- Soak If Needed: For stubborn mud stains, consider soaking the garment in a bucket of cold water with a bit of salt or vinegar for an hour.
- Wash As Usual: Wash the garment as per its care instructions, using cold water. Check the stain post-wash, and if it’s still visible, consider a second treatment.
A Friendly Tip:
- Mud contains various organic materials, so it’s essential to treat the stain as soon as possible to prevent any potential discoloration.
A Personal Touch: After the puddle-jumping adventure, my friend and I turned the mud stain removal into a fun science experiment for her son. We talked about the different components of mud and how detergents work. By the end of it, not only were his clothes clean, but he also had a newfound appreciation for laundry science!
Ballpoint Ink Stains
Ink stains can be a real heartbreaker, especially when they land on a favorite shirt or a new pair of jeans. I remember the day I accidentally left a pen in my pocket, only to discover a blue mess after a laundry cycle.
The silver lining? It led me to discover some effective ways to combat those stubborn ink marks. Here’s the method that saved my favorite white blouse:
- Dab, Don’t Rub: If the ink is still wet, gently dab the stain with a clean cloth or paper towel to soak up as much ink as possible. Avoid rubbing, as this can spread the stain.
- Alcohol to the Rescue: Place the stained area over a clean cloth or paper towel. Dab a bit of rubbing alcohol onto another cloth and gently blot the stain. The ink should start transferring to the cloth beneath the garment.
- Rinse and Pre-Treat: After treating with alcohol, rinse the stained area with cold water. Then, apply a few drops of liquid laundry detergent directly onto the stain, rubbing gently.
- Wash Separately: Ink can be tricky, so it’s a good idea to wash the stained garment separately to avoid any potential ink transfer to other clothes.
- Check Before Drying: Always check the stain after washing and before drying. If the stain persists, consider repeating the treatment.
A Word of Caution:
- Always test any treatment in an inconspicuous area of the garment first, especially if using alcohol, as it can affect some dyes and fabrics.
A Personal Anecdote: Post-ink disaster, I’ve become extra cautious about emptying pockets before laundry. But on the bright side, that ink mishap turned into a learning experience. Now, whenever someone mentions an ink stain, I can’t help but share my tried-and-true method, often accompanied by the tale of my “blue pocket” fiasco.
Oil Stains
Oil stains can be quite the adversary, especially when they’re from our favorite foods. I can’t forget the time I was enjoying a slice of pizza at a family gathering, and a drop of olive oil decided to make its mark on my dress.
It became the talk of the evening, but thankfully, with a few handy tricks, I managed to save my dress. Here’s how:
- Blot Away: If the oil stain is fresh, use a clean cloth or paper towel to blot away as much of the oil as possible. Remember, blot, don’t rub, to prevent spreading the stain.
- Sprinkle Some Powder: Common household items like baby powder, cornstarch, or even baking soda can be lifesavers. Generously sprinkle the powder over the stain and let it sit for at least 30 minutes. The powder helps absorb the oil, making the stain easier to treat.
- Brush Off & Pre-Treat: Gently brush off the powder, and you’ll notice the stain has lightened. Apply a few drops of liquid laundry detergent or dish soap directly onto the stain and gently rub the fabric against itself.
- Hot Water Wash: Oil responds well to heat. Wash the garment in the hottest water safe for the fabric. Make sure to check the care label.
- Inspect Before Drying: After washing, inspect the stain. If any residue remains, it’s best to treat and wash again before drying, as heat can set the stain.
A Friendly Tip:
- Time is of the essence with oil stains. The sooner you can treat them, the better the chances of complete removal.
A Personal Touch: The pizza-oil incident became a running joke in our family gatherings. My cousins would teasingly ask if I’d “oiled” any more dresses lately. But on the plus side, it’s always heartwarming to see someone use my oil-removal trick and remember our little pizza moment.
Conclusion
Remember, stains are just a part of life’s little adventures. With these tips in your arsenal, you’ll be ready to tackle any stain that comes your way. So, go on and enjoy life’s moments without the worry of stains!

